")


Welcome to the third part of how to create the perfect CBO campaign on Facebook blog series!
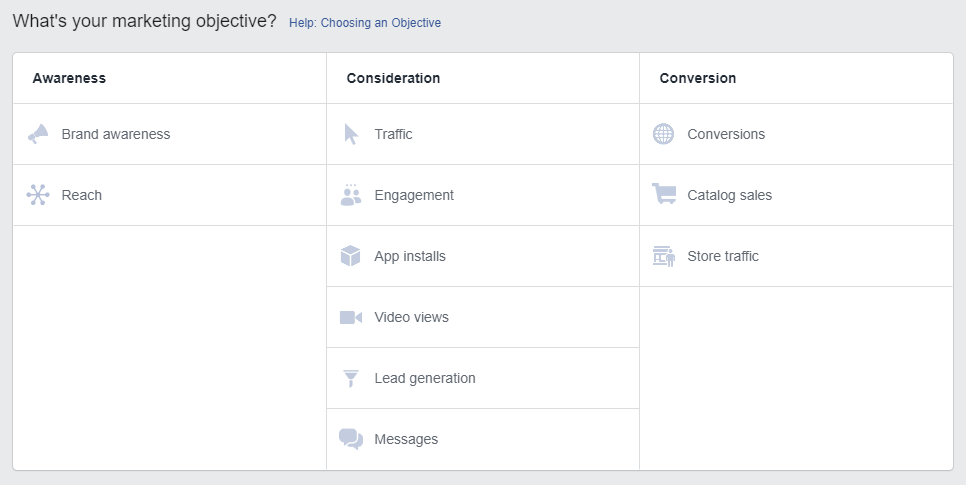
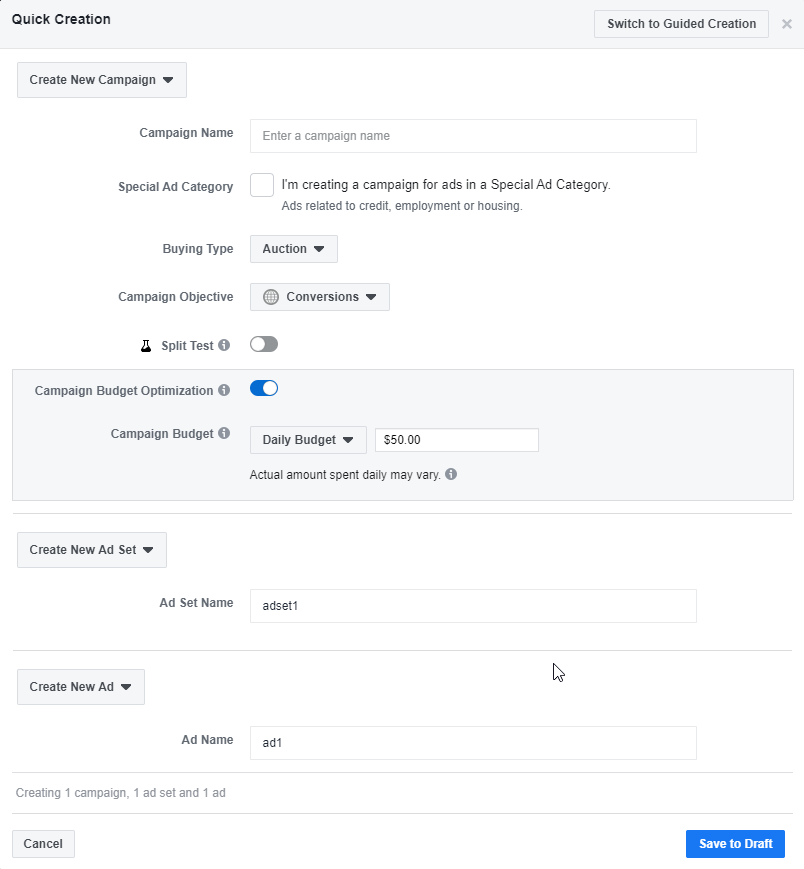
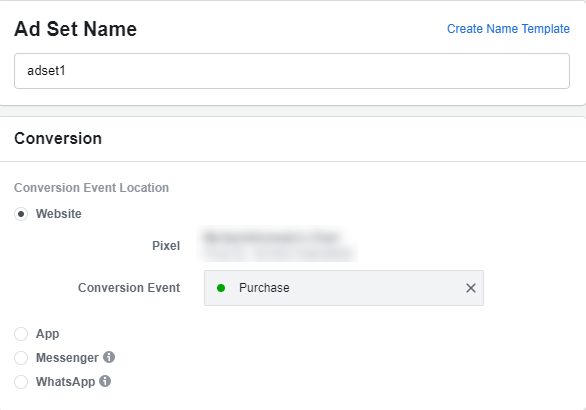
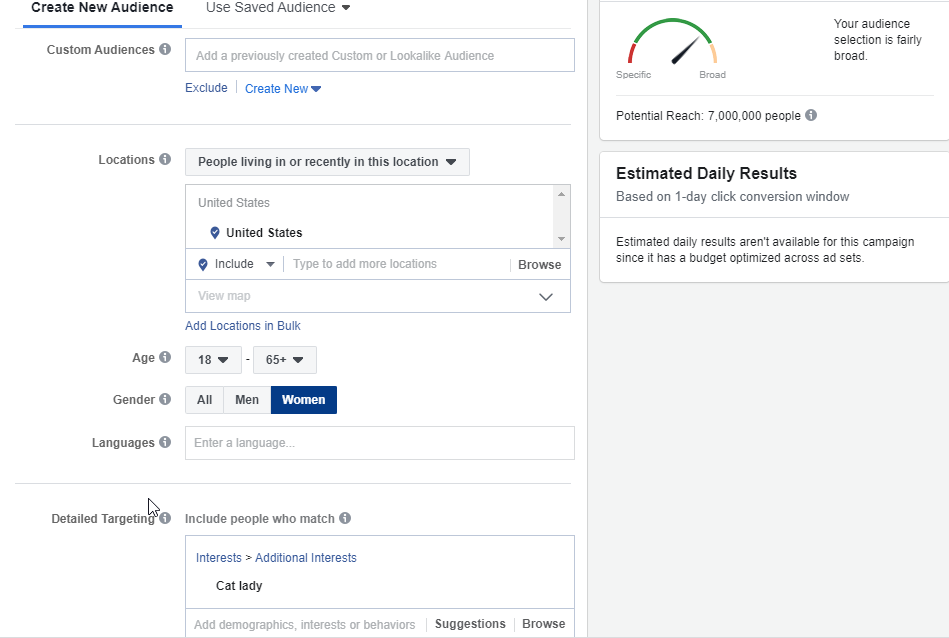
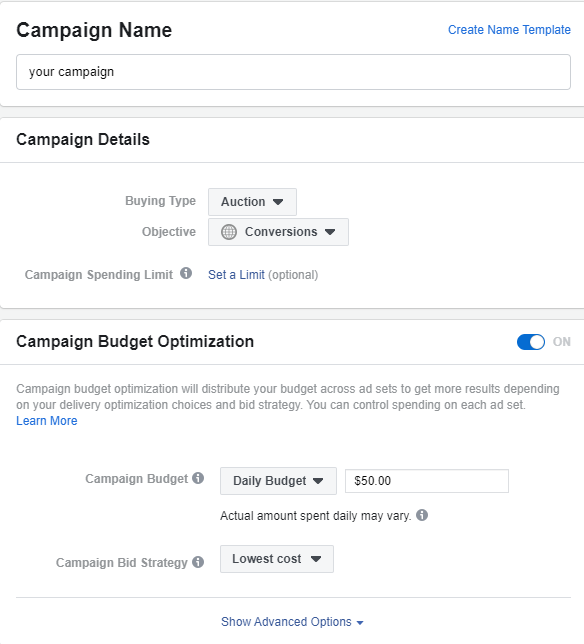
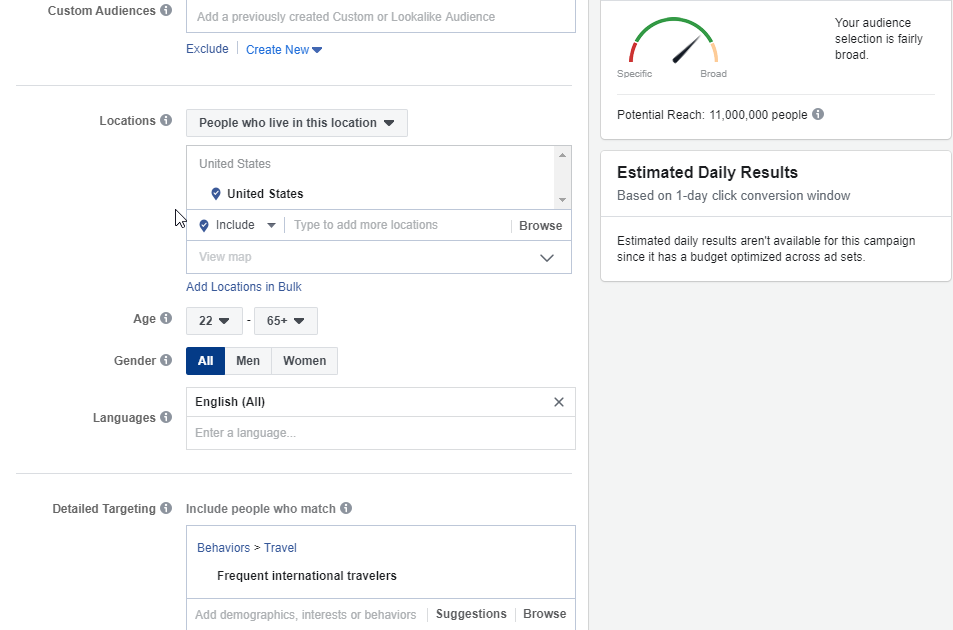
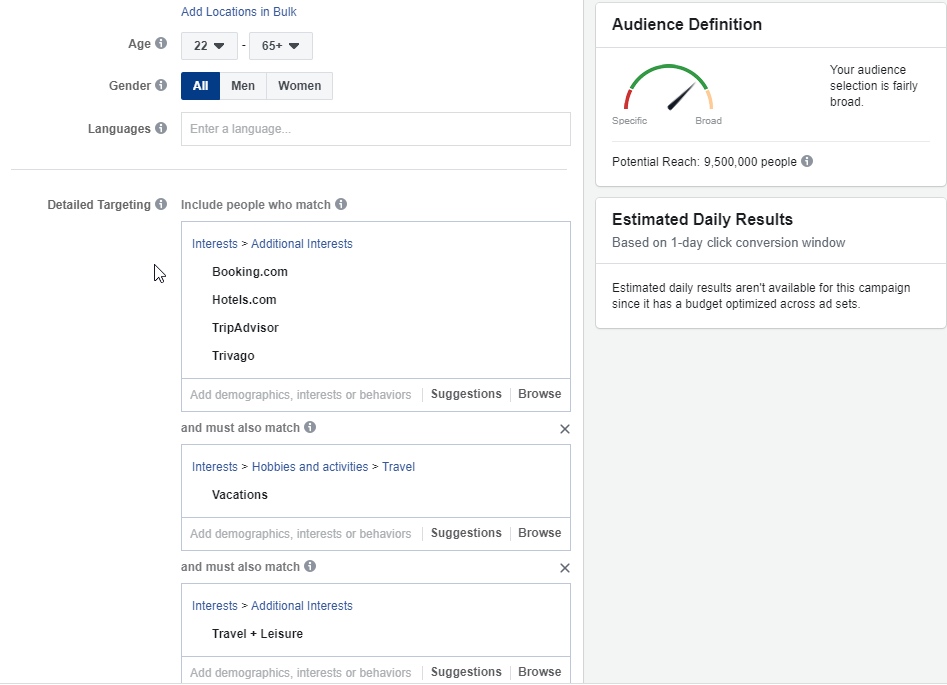
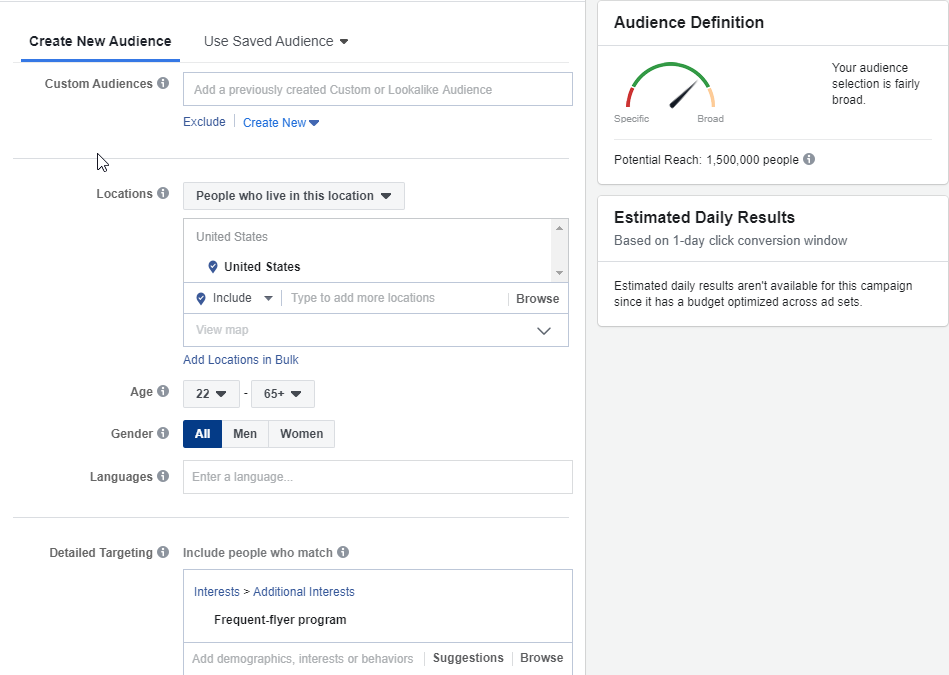
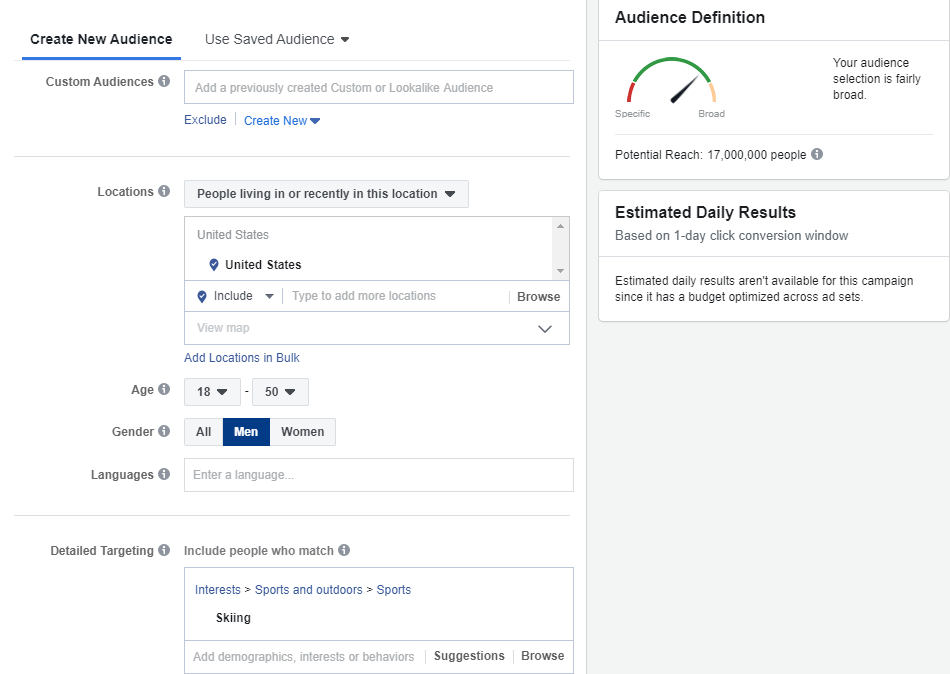
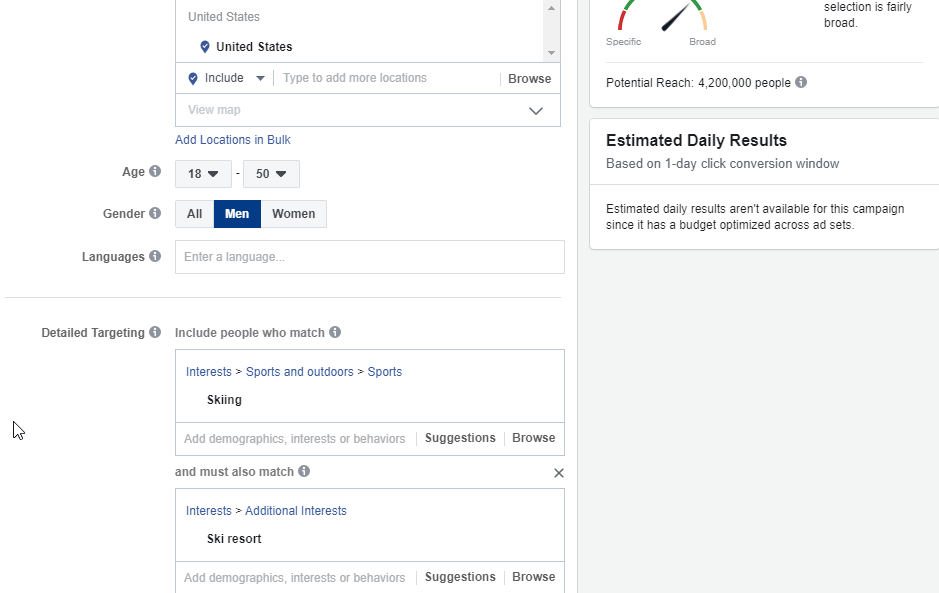
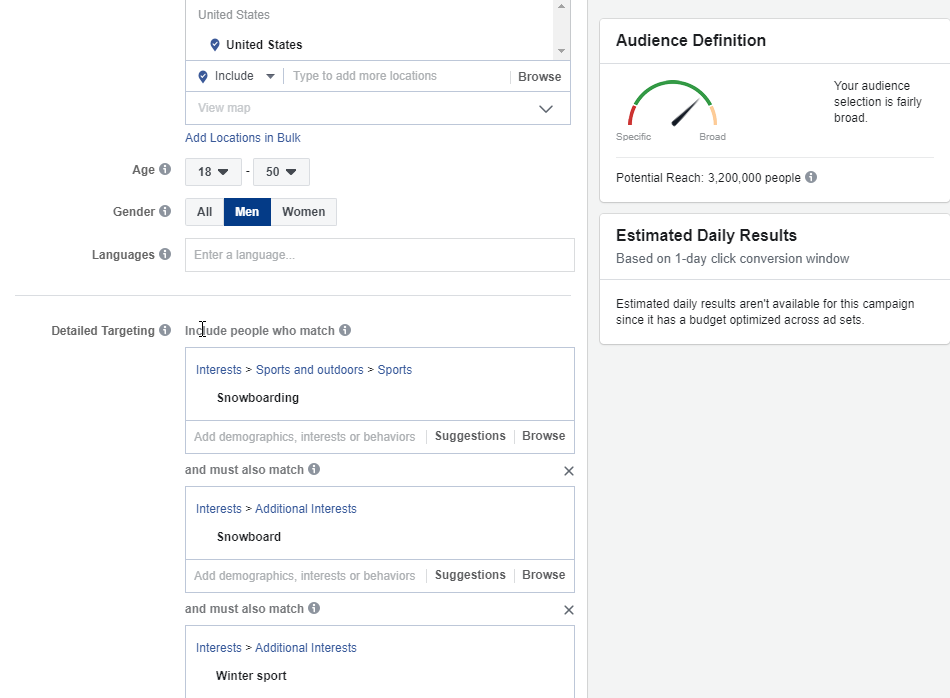
In the first part, I showed you how to setup your first CBO campaign and what options you need to choose(without going too much into details). The second part was about Facebook’s campaign objectives, pixel and targeting(in detail).
In the third part, I’m going to talk about our ads: Different type of ads, ad examples, how many ads we need to test and much more. By the end of this article, you’ll know exactly what ads you need to use and how to use them to get the best results.
If you missed the first two parts, you can read part 1 here and part 2 here.

1. Facebook Ad Formats
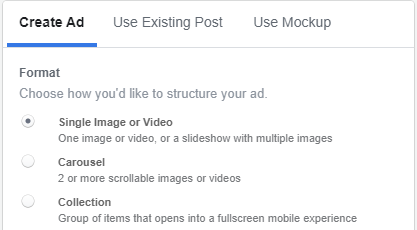
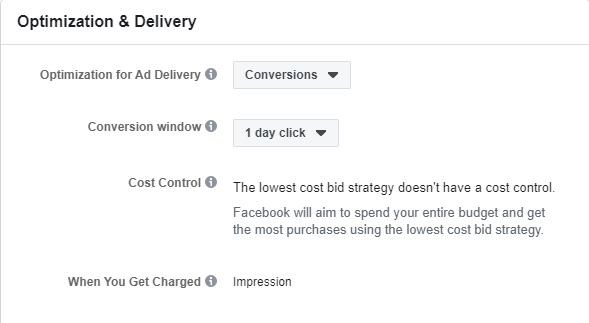
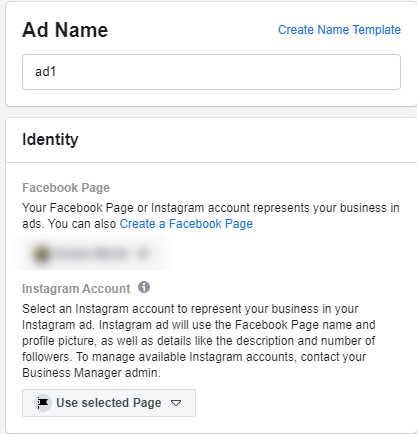
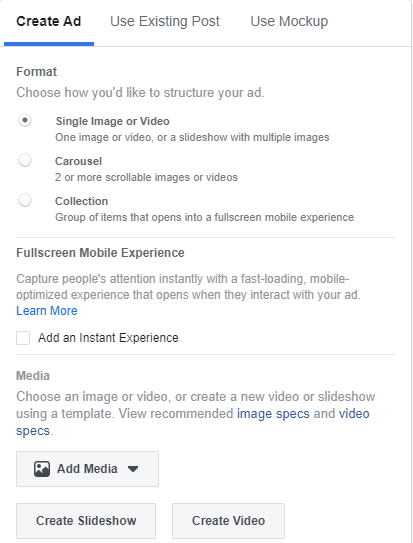
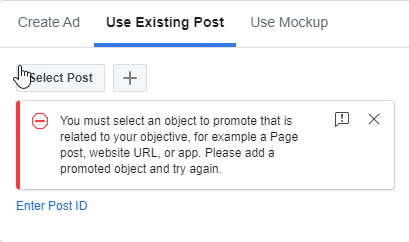
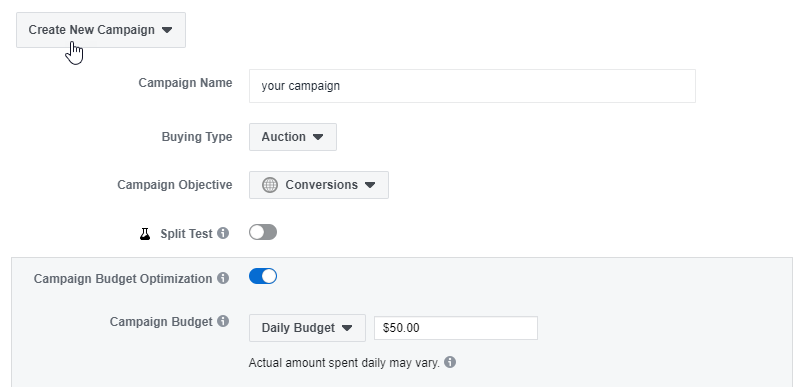
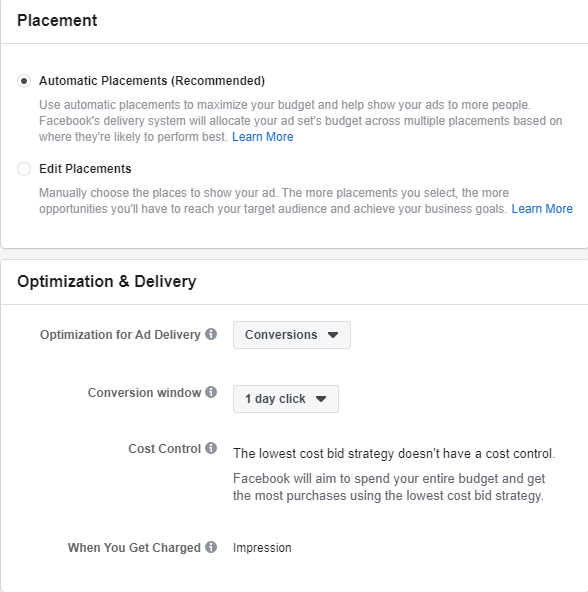
After creating our CBO campaign and finishing setting up everything we need on the adset level, the final stage before we can run our campaign is creating an ad. We can either create an ad on the ads manager or use an existing post from one of our pages. I never used the Mockup feature and never saw someone use it so I can’t really give any info on that option… Most advertisers I know stick to the first 2 options – Create Ad or Use Existing Post.
There isn’t much difference between these two – Some people prefer posting first on their page then just choose that post as an ad and some prefer creating an ad on the ads manager instead of posting it on their page. In both cases, it won’t hurt the results. But there’s still some “cosmetic” differences you should know about.
An ad created straight from the ads manager has a bit more editing options we can use:
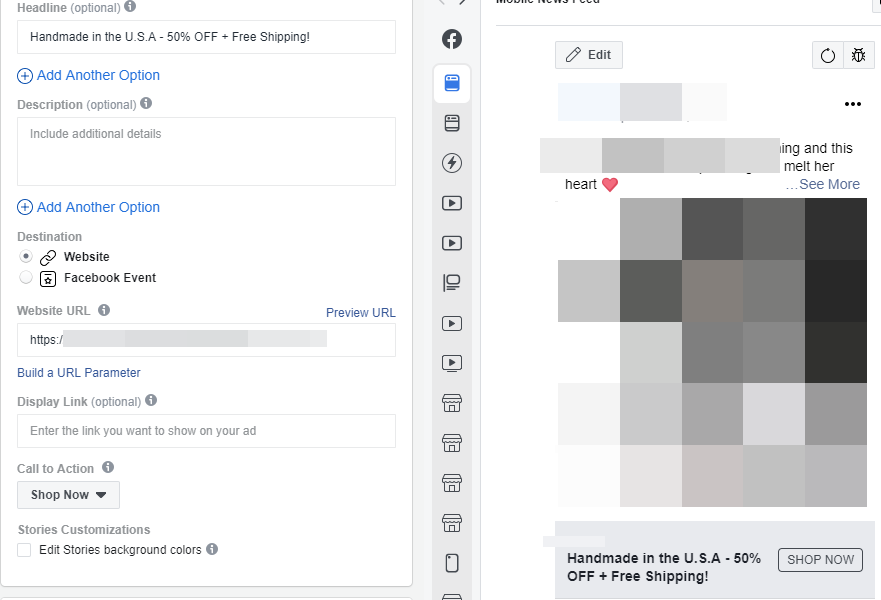
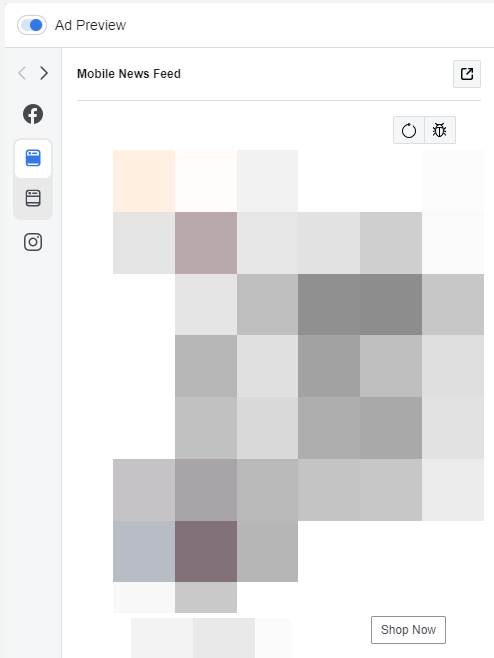
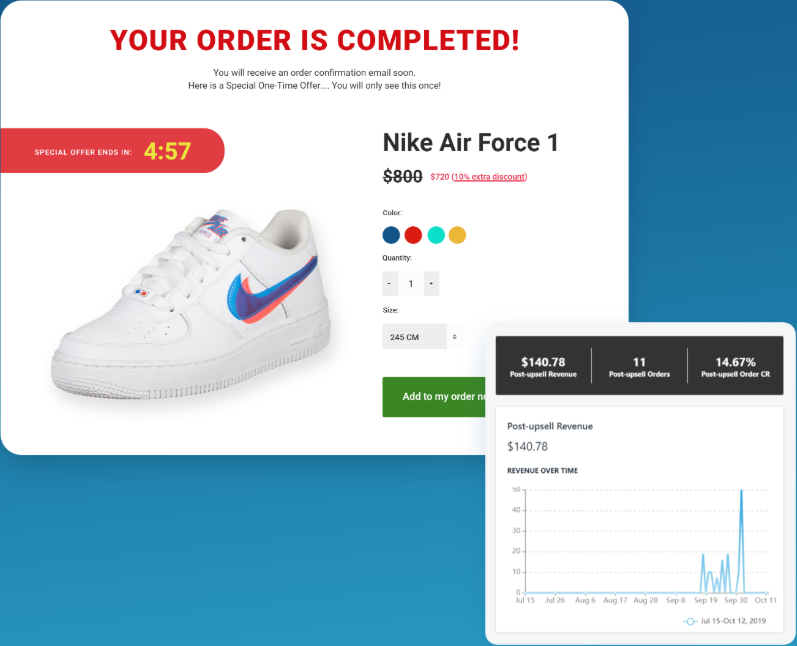
Let’s look at this photo ad I create for a Valentine’s Day product – I created it straight from the ads manager and uploaded the 1200×1200 photo ad I had.
Next thing was to type my ad text, headline text(next to the button), changing the button to “shop now” and using the correct product url(don’t want to accidentally use the wrong product url). The final result is a clickable 1200×1200 photo ad with a headline text + shop now button.
It looks great, has the regular ad text on top of the photo for people to read and understand more about the product. And in the bottom, I displayed the Forte of my product by letting people know it’s Made and shipped from the USA. With a fake 50% Off discount to seal the deal 😉
But what if I used an existing photo post as an ad? Here’s the difference in the editing options:
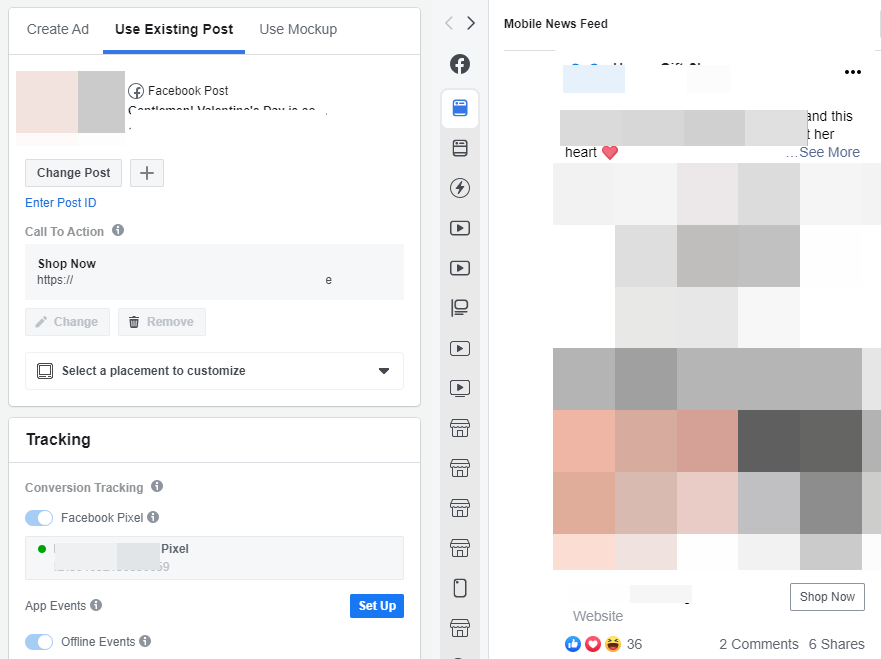
This is a 1200×1500 photo ad I had to first post and then use as an ad. Why? Because for some reason, creating a 1200×1500 photo ad straight from the ads manager crops it automatically. So you can’t basically have a clickable 1200×1500 photo ad without it being cropped. So I had it first posted on my page and then I used it as an ad.
In this case, I could not add a headline text but only a button. What people saw below the photo ad is my page name and the type of the page(website, community, etc) and the “shop now” button. The photo itself wasn’t clickable.
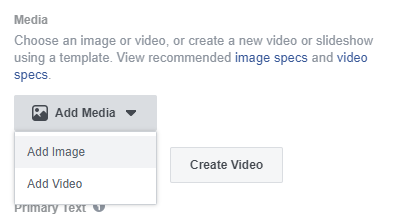
Same thing goes with video ads:
If I use an existing video as an ad, I won’t have an option to put my own headline text – Facebook will use my video title by default. So if you just uploaded a video to your page, make sure to give it a good title and not just name it as your product. If I sell an adorable cat house, I want my video ad title to be “Adorable cat house – Order Yours Now” and not “Cat house”.
If the video was uploaded from the ads manager when creating an ad, you can edit the headline to whatever you want. I just had to make these points clear and show you the differences between the two options.
Ok Back to ad formats!
Starting with video and photo ads: You probably already understand that not everything has to be square and we have plenty of display options supported by Facebook. To see the supported ratios, check the official Facebook ads guide here.
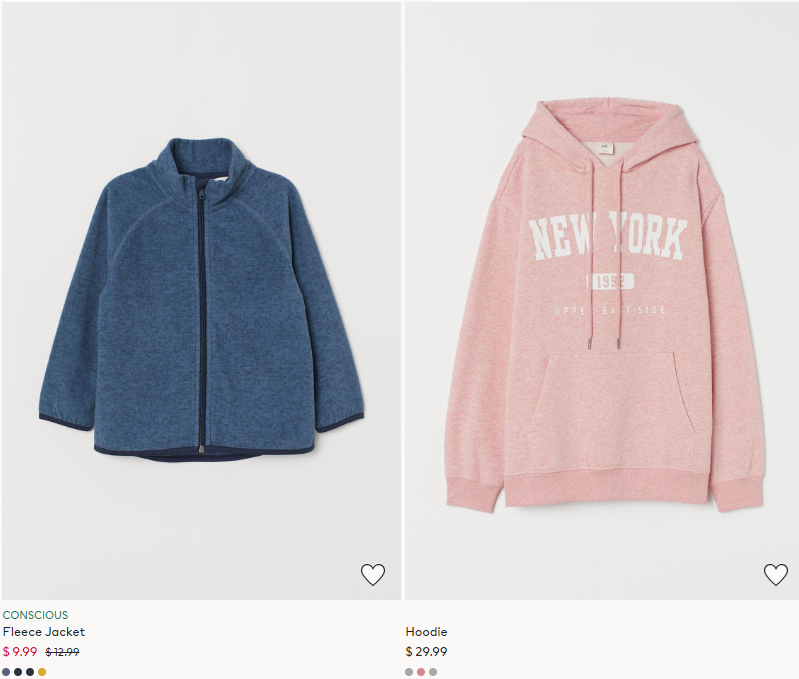
I personally use 1200×1200 square ads for both my videos and photos. It takes a bug chunk of the feed space so if you have an eye catching photo/video, people will definitely stop scrolling. For photo ads, I also use 1200×1500 size. It takes up even more space in the feeds and you can display products in a much cooler way.
For example:
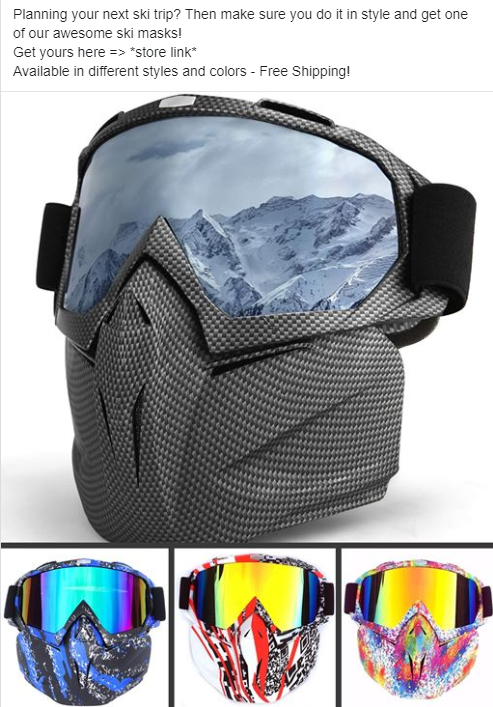
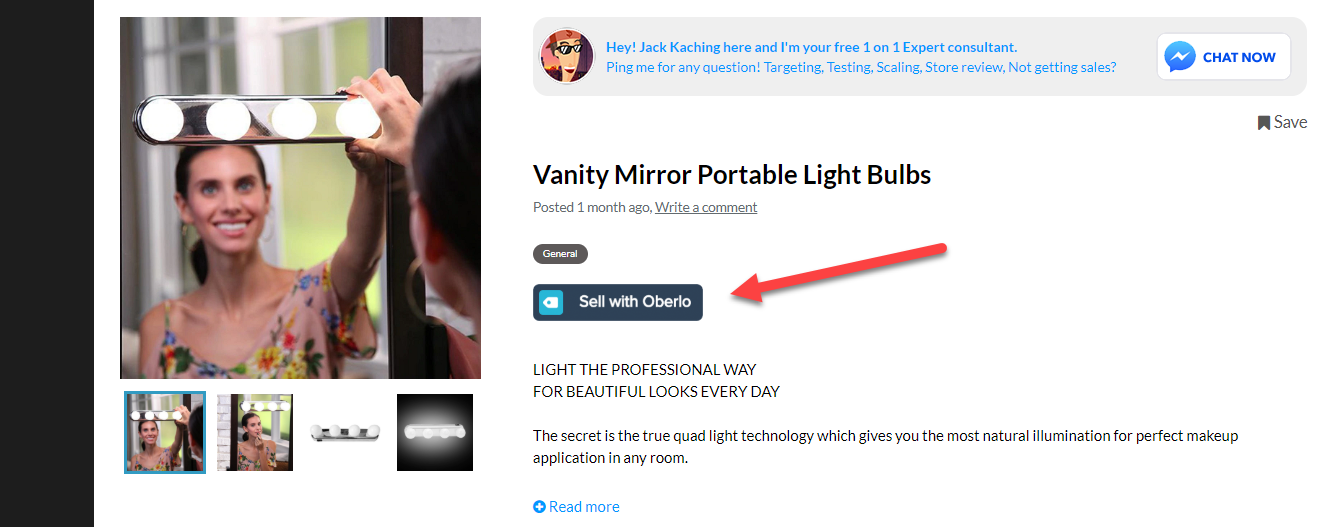
This is an example photo ad I used in my winning product articles – Make sure to check them out.
And before I jump to a different ad format, let’s take a look at how our ad copy should look like. First of all, you need to understand that Facebook limits the number of lines we can have in our ad text before the “See More” button appears.
Once in mobile, it was 7 lines but today it’s already 3 lines max. This means we have to make sure the first lines of our ad copy have a catchy text and our link is visible before the “See More” button. I know we have a Shop Now button, but it’s still better to also have a visible link to our product in the ad copy.
So what makes our ad text “catchy”?
- Emojis – Don’t exaggerate! Emojis help to make our ad copy more interesting but we don’t want it too look spammy. One or two emojis are enough.
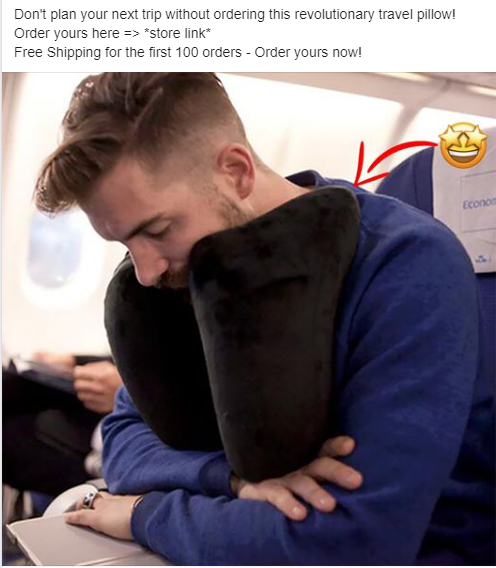
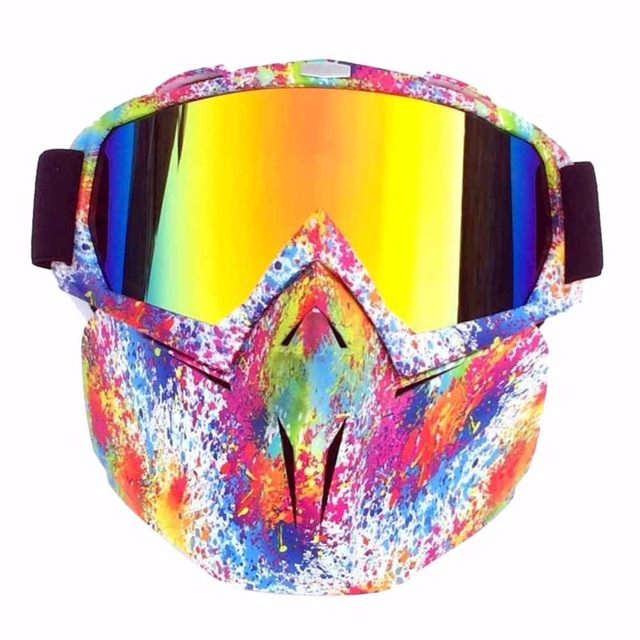
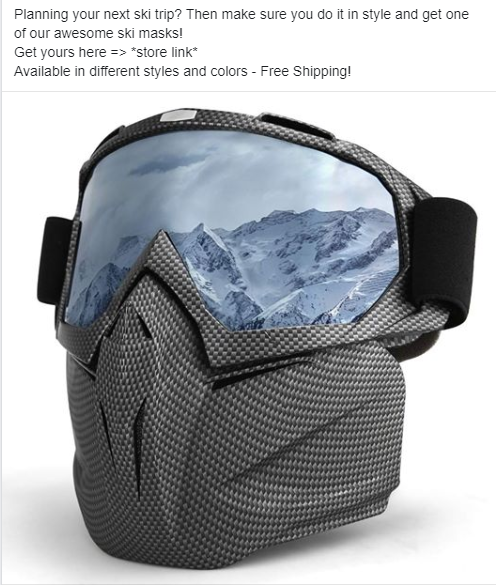
- Speaking to our audience – Take this ski mask for example. The ad text speaks right to the point and addressing to people who plan their ski trip. If we were to just write “Awesome ski mask”, people probably could miss it.
- Addressing the problem or talking about the solution – This works best for problem solving products where we address the problem or talk about the solution in the first lines. This way we increase the chances of people who actually have this problem to stop from scrolling and look on our ad.
- Amazing Offer – If you have an amazing offer for a certain product you think can really do the difference, then make sure to let people know about it in the first lines. And no, I’m not talking about “Free Shipping”. More like Get X and enter a contest to win Y OR Free! Only play for shipping. (Yes, Free+Shipping still works).
Be creative – That’s it!
Carousel Ads:
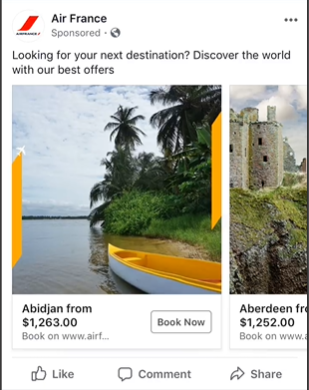
Honestly speaking, I recommend using carousel ads but in the last couple of months I didn’t use them at all… My experience with carousel ads is when I used them for retargeting and the results were great!
Customers could see different styles of my product, different products I sell on my store, and I was getting pretty cheap conversions. But like I said, I used carousel ads only for retargeting. Nowadays I just create different videos or photos and use them for retargeting.
The best part of carousel ads is that they don’t die quickly – From my experience, I always had steady results with carousel ads and I could run them for months without stopping. Sounds like a fairy tail but the same thing happened to other sellers I know.
This Valentine’s Day I did a BIG mistake and left a lot of money of the table because I didn’t even use carousel ads once. I suggest you don’t do the same mistake and give carousel ads a try! Read more about carousel ads here.
Collection ads – 0 experience with this so I can’t really say anything here.
How Many Ads Per Adset Should We Launch?
You can have multiple adsets in one campaign and multiple ads in one adset. The amount of ads in one adset really depends on you but if you want to know my “magic” number, then the answer is at least 2 ads per adset.
We have no idea how the audience is going to react and what ad they’re going to like more – This is why we must test more than one creative and Facebook will deliver both to our audience and see which one is best.
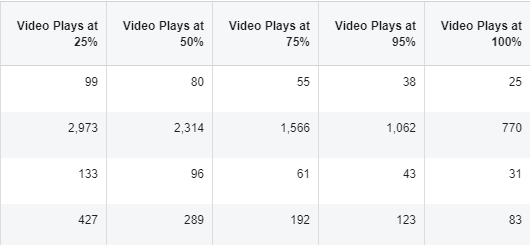
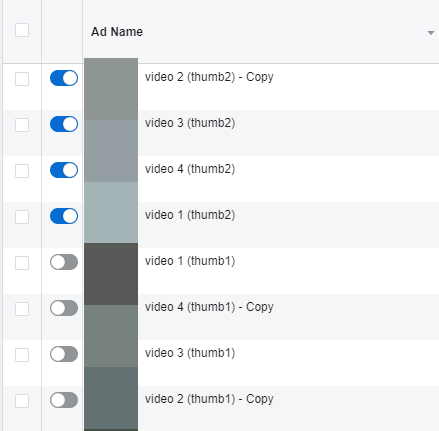
In the screenshot above, we had a video ad with 4 different beginnings. If you didn’t know, the first 3 seconds of a video are really important and they should be catchy enough to stop the user from scrolling. It’s called a scroll stopper – google it to read more.
So to test the 4 different beginning our video had, we made 4 ads in a single adset. On top of the different beginnings, we had 2 thumbnails we also wanted to test. So that means we now need 8 ads. 4 beginnings will use thumbnail1 and the same 4 beginnings will use thumbnail2.
So we ended up testing 8 ads in a single adset.
The video with Thumbnail1 had the worst results so we ended up killing all the ads with Thumbnail1 and later on, only one beginning was getting good results so we ended up with 1 ad only.
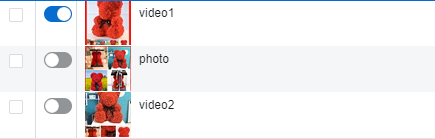
Let’s take a look at this example:

This is one of the Valentine’s Day products I was testing and here I had only 3 ads in 1 adset. one 1200×1200 video ad and 2 photo ads(1200×1200 & 1200×1500). In the end, the 1200×1500 photo ad was the best and I shut down the rest.
I think testing 2-4 ads in one adset is more than enough – If you have a single video ad, test different thumbnails or different scroll stoppers. If you have only a photo ad, test 1200×1200 & 1200×1500 sizes or different backgrounds. Give Facebook the option to choose the best performing ad for you and kill all the rest.
Instead of duplicating an existing ad “X” times and changing the thumbnail or uploading a new photo, some people prefer using Dynamic Creatives:

This is found in the adset level and from what I understand, you will end up having one ad but there will be multiple built-in creatives Facebook will test. Don’t take my word on it because I have absolutely ZERO experience with dynamic creatives and prefer using the old method of duplicating ads.
No reason for dynamic creatives not to work so feel free to test it out – You can read more about Facebook Dynamic Creatives here.
The Endgame Of Testing Multiple Ads
Give your creatives at least 2 days and then shut down those with bad results and keep only the best one running. In a fantasy world, only one of your creatives will get the sales and all the rest stand on nothing. So shutting all the rest will be a no-brainer.
But we’re not in a Fantasy world and we may find ourselves in a situation where some ads still get sales. In this case, I judge based on how close it is to the best ad. If my best ad has 10 sales and the other one has 8 sales, then of course there’s no reason to shut it.
If my best ad has 10 sales while the other has 1 or 2 sales, then I can shut the other one with confidence. There’s no math here just simple logic that’s based on how close the results to the best performing ad.
And of course there’s the ROIs we need to check and see if it’s still worth feeding the less performing ad more budget. If my best ad has 10 sales at a cost of $8 per conversion and the other one has 8 sales at a cost of $20 per conversion, then I’m not going to keep that ad running anymore.
After this our only hope is for the campaign to keep performing so we can think about scaling 🙂
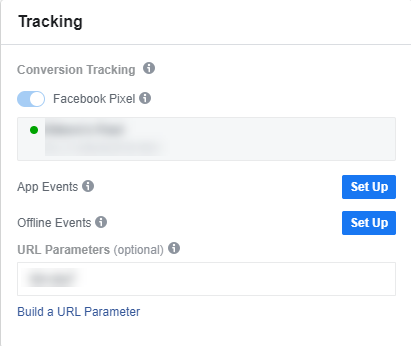
*Bonus* URL Parameters
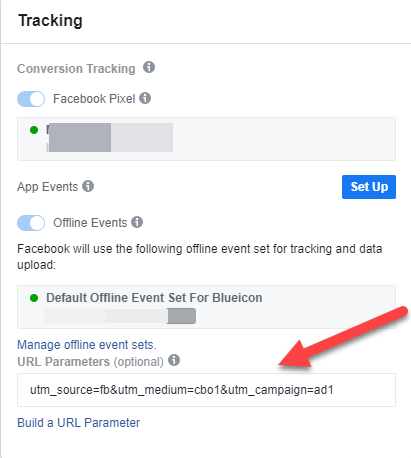
In the ad level, there’s something not many use which is the URL parameters. With URL parameters, we can track from where our conversions come and not rely only on Facebook reports. As you know, Facebook sometimes misses some sales so there can be a case where an adset or an ad actually brought a sale but Facebook didn’t show anything.
Imagine you’re in the early testing stages of a good product and there are 2 unregistered sales you have no idea where they came from – You look at your ads manager and see that there’s an adset that’s losing money so you shut it down.
But it actually didn’t lose any money! The 2 unregistered sales came from this adset and if you kept it running for more time, it would’ve been your best performing adset. So if you used URL parameters, you could easily check on Google analytics or even on Shopify dashboard to see where the sale has come from.
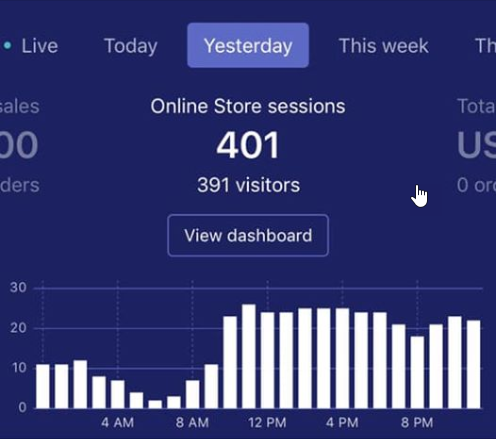
Here’s an example from Shopify’s dashboard.
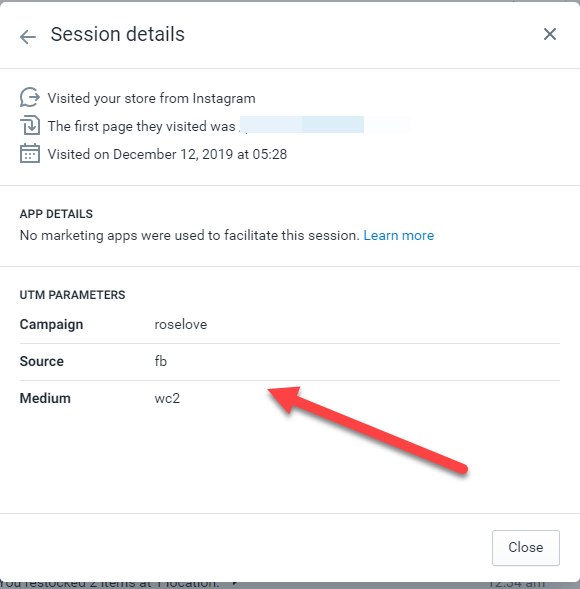
As you can see in the screenshot above, Shopify shows me a simple report on the UTMs used for this sale. I can easily see that wc2 adset was the one that brought me the sale. It’s better to use Google analytics and check there all your parameters and stuff. But you can always check it on Shopify if you feel Google Analytics is too much for you.
Use google Campaign URL Builder to build your tracking URLs or do it on Facebook.
Disclaimer: I’m not a pro URL builder and maybe the way I build the tracking URLs is wrong. I suggest you check official sources and learn the right way to build your tracking URL. I don’t want to accidentally mess your GA reports…
To Sum It Up:
This week’s third part was all about the ads and their creatives. You now know what type of ads to create, the dimensions and how many ads you should test. What to do after the testing stage how basically Facebook’s ad level works.
Next week’s article will be about results and we will talk a bit about scaling.
Thank you for reading and I hope you liked the third part of the series 🙂
Struggling to find good products to sell? Not sure who’s your target audience? Tired of losing money on products you were sure were “winners”?
Then Ecomhunt is what you need! Find hot winning products that are added daily, spy on their ads & stores and import them into your store in 1 click and Start Selling Today!