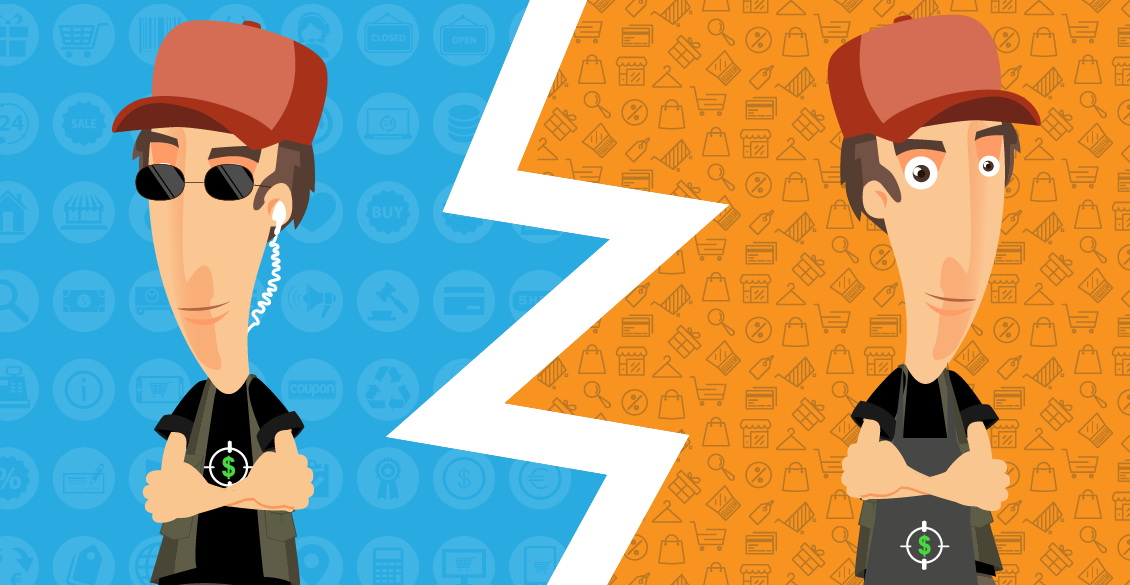
Facebook Retargeting is simply a tactic where you target the people who have already engaged with your brand on Facebook or visited your website. You’ve probably seen them before. Those ads that mysteriously follow you around Facebook after you clicked on an ad or visited a new site.
Any type of website out there, whether it’s a WordPress site, a Wix site, or you just have a Shopify site for e-commerce, it’s always best to set up your facebook pixel in the head section of your website, a facebook pixel. We’ll start tracking all website visitors where they come from, what their Facebook pages, and technically as much information as they can get from your customers that visit your website. Once you set up your facebook retargeting pixel on your site, once you can leave it and start creating an audience around it to build up so you can advertise to them later.
Get set up
Step number one, get it set up so we recommend setting it up right away. What you have to do is go into your facebook ad manager, create a new pixel for your Facebook business page, copy and paste the pixel into the head section of your website.
Now, some websites are different than others. As an example for WordPress. If you’re technically knowledgeable about your site, you can insert it into the head code of your WordPress site. Additionally, you can download a plugin which will allow you to easily insert any codes, analytics, or pixels into your website without worrying that you would break it once the pixel setup on your site, you’ll start seeing visitors in your Facebook ad manager so you know that it’s working. Go back and check a day later to see if that number has increased so you can be ensured that the ad Pixel is installed properly.
Create Your First Custom Audience
Tip number two, create your first custom audience. Now that you’ve installed the Facebook pixel correctly, you can set up a custom audience in your Facebook ad manager. This way, you can start targeting people that visit any part of your website or specific pages of your website.
If you only want to target and create an audience around people that have been to your shopping cart, you can set up an audience and name it shopping cart audience.
If you want to target only people that have been to your home page, you can set up an audience based on visitors that visited your homepage and target them. Additionally, you can target anybody that’s visited any page of your website.
We recommend setting up specifically in generally so you can go back and advertise to any group later on. Once you build up your audience, the goal is to get a thousand or more visitors to your pages so you can start advertising to this audience.
Create a Facebook Product Ad

Tip number three, create your Facebook product ad based on the visitor’s audience and pixels of the pages that you’ve set up. You can start targeting any of those visitors with ads. If you run an e-commerce site, we recommend posting pictures and images or even videos of your products in a Facebook ad, so anybody that’s been to your site or knows your brand will recognize any pictures or videos that they’ve seen on your site.
Now in a Facebook ad and maybe more willing to purchase from you, you can create custom ads based on people that have been to your shopping cart, telling them to come back with a 20 percent coupon that they can use for your business.
Get Social Proof
Tip number four, get social proof. Now that you’ve set up your pixel, your audience, based on people that have visited your website and created your ad, you need to start getting likes and comments on that Ad. This creates social proof, so any other visitors or audience that have seen your brand.
Now they are seeing your facebook advertisement on their newsfeed. They’re going to see that other customer enjoy your products and are happy with your business, so when they see likes and comments on the ads that you’ve set up, they’re more likely to take advantage of the offer or click on the ad to go back to your website and purchase.
You can do this by sending out a link to your email list or your facebook messenger list, asking them to go engage with the Facebook ad or they could even receive an even greater discount just for giving you some love on your facebook end.
Setup Abandon Cart
Tip number five, set up the abandoned cart. Now that you’ve created the ad audience pixel and got some social proof, you can now target people that have only been to your cart and didn’t purchase.
If I go to your website right now and I go to your checkout and I changed my mind, get busy or just don’t want to buy right, then you can continue showing me that same product I was going to buy on a consistent basis in my newsfeed, so when I am ready or when I do remember, I’ll recognize the product, your brand, and I’ll see that you’re making it easy for me to go back to your site to purchase the summary.
The Key Takeaway:
When you tie all of these tips together, your website will see an increase in not only growth traffic, but most importantly revenue. People are busy. They have their own schedules. Sometimes they just forget, but if you keep reminding them, continue building your brand and showing them that you’re always there for them, they’re more likely to come back to your website, make a purchase, and stick with you for the long run.
This isn’t a setup and forget ad strategy. You’re going to have to split test and continue making changes until you find what works best for your business and your audience. Sometimes even then, once you find what works best, you’ll still have to change it because of the marketing changes so often.
Internet Marketer, Sales Manager, eCommerce Expert, and Community Manager at – Ecomhunt


